How to flash Qualcomm Smart device using eMMC DL Tool
flash Qualcomm Smart device using eMMC DL Tool
How to Flash Qualcomm Smart Device using eMMC DL Tool
Welcome back everyone! Today I’m going to provide you the detailed steps to be followed to flash Qualcomm Smart devices using eMMC DL Tool. We all know what Qualcomm does! There are many such devices which work on Qualcomm technology. It lets users check the contents of the refrigerator while at the market, turn on the air conditioning on the way home from the airport and lower the oven temperature so the main dish won’t burn when meetings run late. Sit back and read the detailed post if you are searching for the same solution.

Pre-requisites:
- It is always better to have the data back-up when we are dealing with the firmware and flashing things.
- Charge up your phone to at least 50-60 %, since the flashing takes some time and to be on the safer side.
Steps:
Step 1,
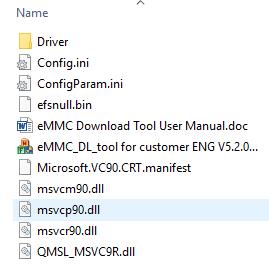
- Download the eMMC Download tool along with the required drivers from the computer/PC from where you want to do your flash from. Extract the downloaded file. Once you extract the downloaded tool, you would be able find all the below mentioned steps.
- Download And Install Drivers
Step 2,
- Install the drivers, which is the very first place in the extracted list.
- Power off the device which you want to flash.

Step 3,
- Find out the particular Stock firmware for your device and it’s model and download the same and extract it on the PC/computer on which you are doing the flashing from.
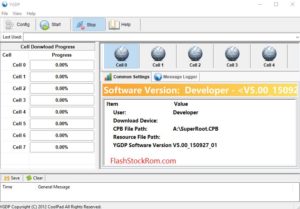
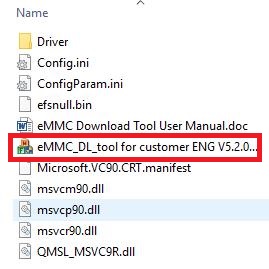
- Open the extracted files again and now open eMMC DL Tool for customers ENG V5.2.0..
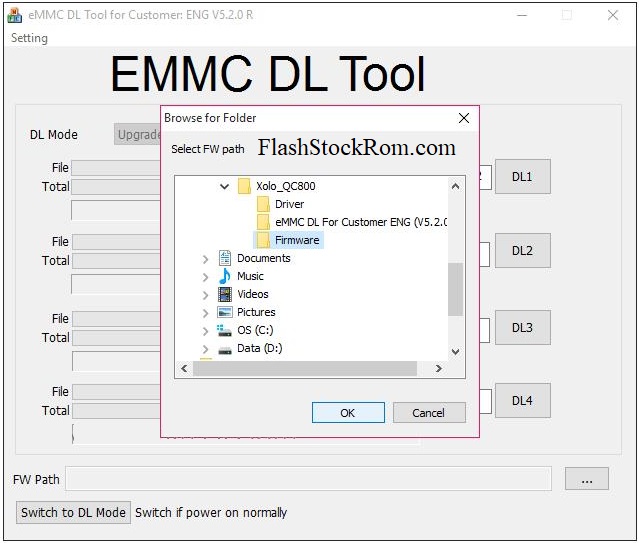
Step 4,
- A pop up of eMMC DL Tool will be launched. Click on more options at the right bottom end, i.e., […] option, it will ask you to specify the folders by browsing. Locate the firmware folder and place the same properly.
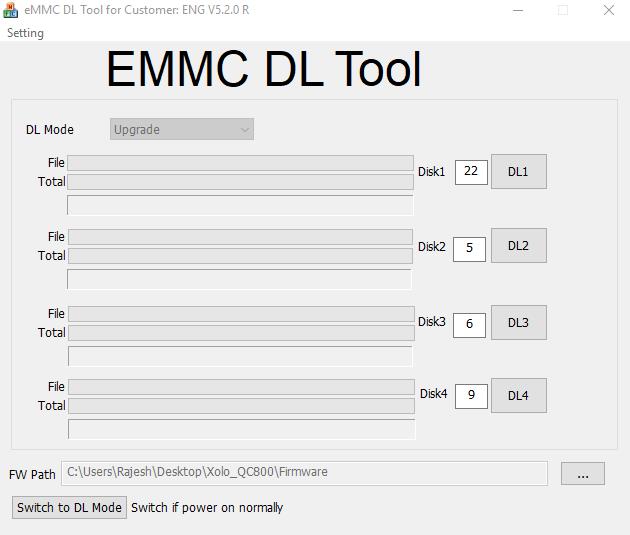
Step 5,
- Click on proceed once you are done placing the perfect path of the firmware folder.
Step 6,
- Now, connect the device whose flashing is to be done by connecting it to the PC/Computer from USB driver.

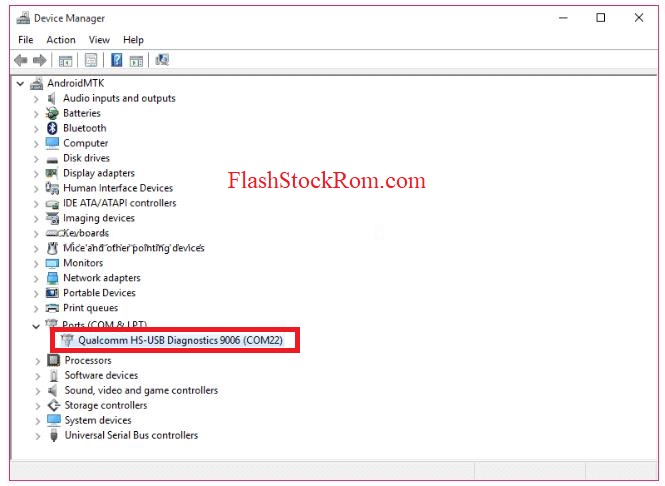
Step 7,
- After connecting, open the device manager from your computer. If you do not know that, then please Right click on Computer ->Manage -> Device Manager.
- The Device manager screen would be popped up, browse through the options and locate Port number of your device and note it down.
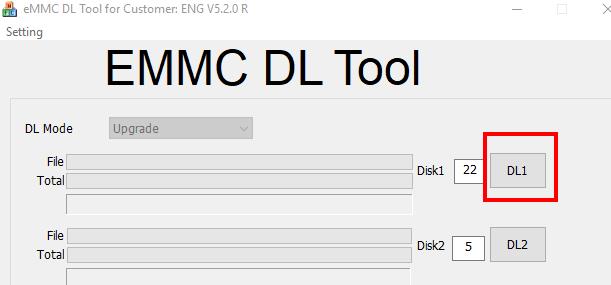
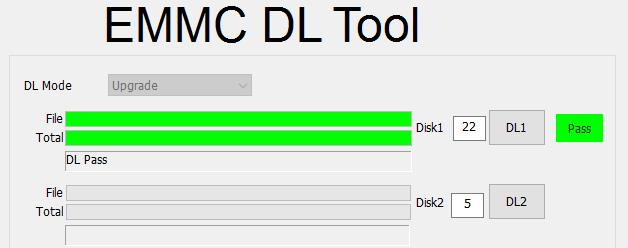
Step 8,
- Go back to the already opened eMMC Tool and set up the port number there.
- Click on DL1 button to initiate the flashing of the tool.
Step 9,
- Wait for some time patiently. It may take somewhere between 10 to 15 minutes depending on the requirement and sometimes even lesser time.
Step 10,
- Once the complete process gets over, the screen would show the green pass mark. Now, you can remove the device from your computer.
I hope the post came in handy for the flashing. If you are facing any issues in following any of these steps, then feel free to drop a comment. One of us from our team will get back to you quickly. Also, go through the other posts as well. Thanks!