How to Flash BIOS with USB | Creating a Portable BIOS Tool

How to Flash BIOS with USB | Creating a Portable BIOS Tool
BIOS is an abbreviation for “Basic Input Output System.” BIOS is also referred to as system BIOS, ROM BIOS, and PC BIOS. The BIOS firmware is pre-installed on the system board of personal computers. The BIOS is the first program that starts when the laptop is powered on. As a result, the BIOS must be updated on a regular basis. The BIOS must be kept up to date in order for the computer to work properly. In this tutorial, we’ll go throw to flash BIOS via USB.
To update the BIOS, you must first flash the most recent version of the BIOS. The BIOS flashing process differs depending on the model of the laptop.
How to Flash BIOS Using a USB
There are various techniques for flashing BIOS using USB or thumb devices. The methods are as follows:

Method 1: Using a normal USB flash drive
Step 1: To begin, insert a blank USB drive into your computer.
Step 2: Next, you must download the latest BIOS version that you require. The download link will be provided via the manufacturer’s website.
Step 3: After that, you must copy the BIOS update file to the USB flash drive. At the same time, make a note of the title and extension of the update file. You must take careful note of the file’s exact location. In order to perform these tasks, you must first connect the USB drive to your computer.
Step 4: You must now restart your computer. You must enter the BIOS by pressing the necessary key. F2 or any function key is usually necessary. When your computer boots up, you must instantly hit the key.
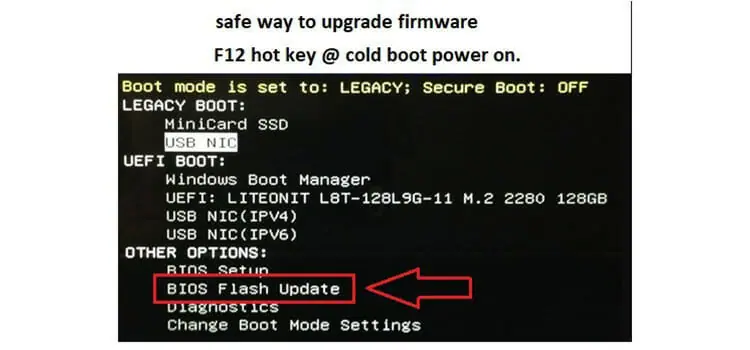
Step 5: Navigate to the boot menu. Once there, you must replace the hardware. This may be found under the Primary Boot Devices to the associated USB flash disc. To restart the computer, choose Save changes and quit.
Step 6: On the computer screen, a command prompt will appear. When it appears, enter the name of the BIOS update file on the USB device and click Enter.
Step 7: Finally, tap the Y key to confirm the update. During this step, you must insert the USB drive into the computer.
Step 8: Once the BIOS flashing procedure is complete, you may remove the USB device from the computer.
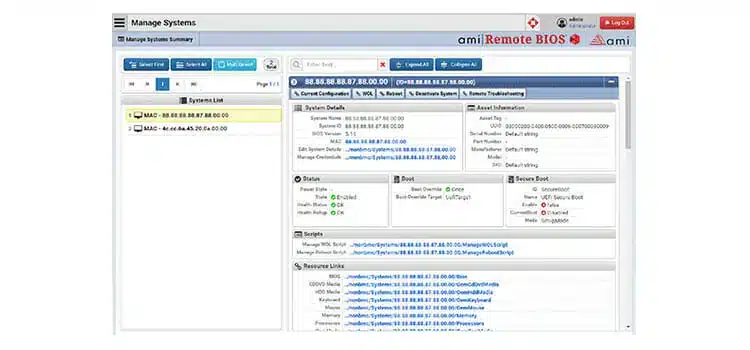
Method 2: Using a USB Disk, flash the AMI UEFI BIOS.
Step 1: You must first know the model number. To do so, open the case and look for the MS-XXXX and version number on the motherboard.
Step 2: Now, fire up the machine and hit the Delete key to access the BIOS panel.
Step 3: Next, you must download the BIOS for the motherboard as well as the USB drive’s version.
Step 4: Unzip the BIOS-zip file that you got. The file must then be copied and pasted into the USB storage device.
Step 5: At this point, you must boot the system from a USB storage device.
Step 6: A DOS prompt will open, and you must then perform the following commands:
C:\7752V22>afude238 e7752ins.228
Step 7: Now you must restart the system.
Step 8: When the flash is finished, the C: prompt will display on your screen.
Method 3: Flash Acer Aspire BIOS
Step 1: To begin, format the USB memory key in FAT mode.
Step 2: Next, go to the Acer support website and download the most recent BIOS version.
Step 3: Next, enter the BIOS model number to obtain the proper version for your Acer laptop.
Step 4: Extract the files from the zip file and place the FLASHIT.EXE and BIOS files in the memory key’s root directory.
Step 5: Change the name of the BIOS file to ZG5IA32.FD.
Step 6: Finally, you must remove the disc.
Step 7: At this point, you must switch off the laptop, insert the battery, and connect the AC adaptor.
Step 8: Insert the USB memory into any USB port on your laptop.
Step 9: Now press Fn+Esc to exit. You must simultaneously push the keypad and the power button.
Step 10: When the power button begins to flicker, release the Fn+Esc kyes.
Step 11: Finally, push the power button once more. The BIOS flash will begin automatically on your laptop. The laptop will stop flashing and reset after a few minutes. You must wait until the operations are finished.
ASUS motherboard BIOS flash via USB
Step 1: To begin, boot into BIOS. You must first select Tool, followed by EZ Flash.
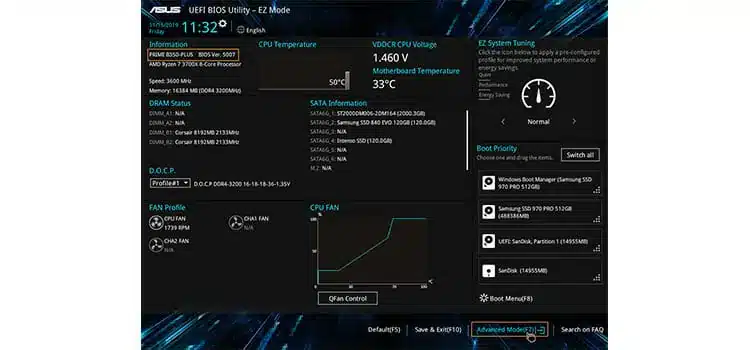
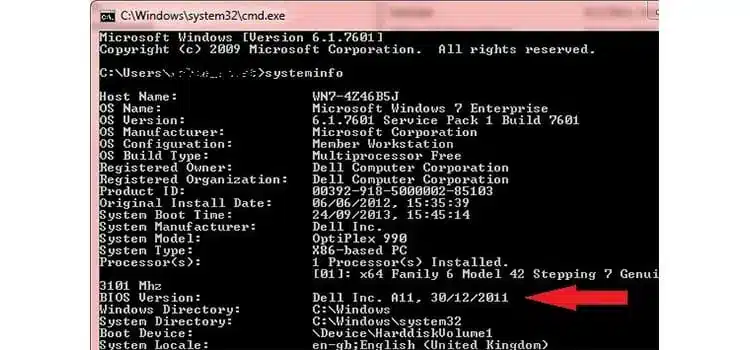
Step 2: Next, you must determine the current BIOS version. You should make a note of it.
Step 3: From the ASUS website, get the most recent BIOS iteration. You must save the downloaded file to a USB drive.
Step 4: At this point, you must pick the USB device. You must select the file from the USB and press Enter.
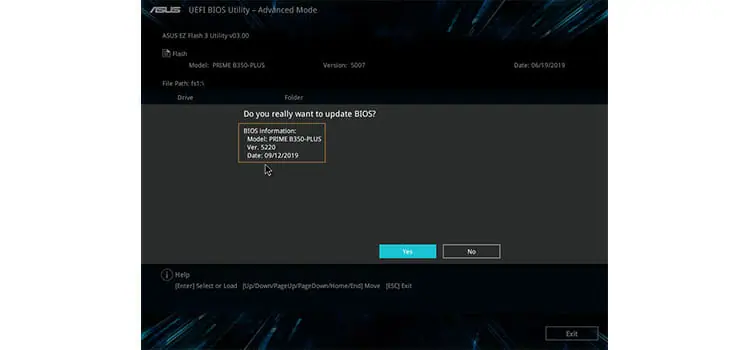
Step 5: It will prompt you one more time before applying the update. You must evaluate and approve it.
Step 6: After finishing, you must reboot.
Step 7: Recheck the BIOS version and ensure that the update was applied.
Step 8: Finally, you must manually re-apply the BIOS setting.
Conclusion
To update your computer, you must flash its operating BIOS. You must save the file to a USB device and then flash the current BIOS. You must carefully follow the procedure, and you must insert the USB into the computer at all times.